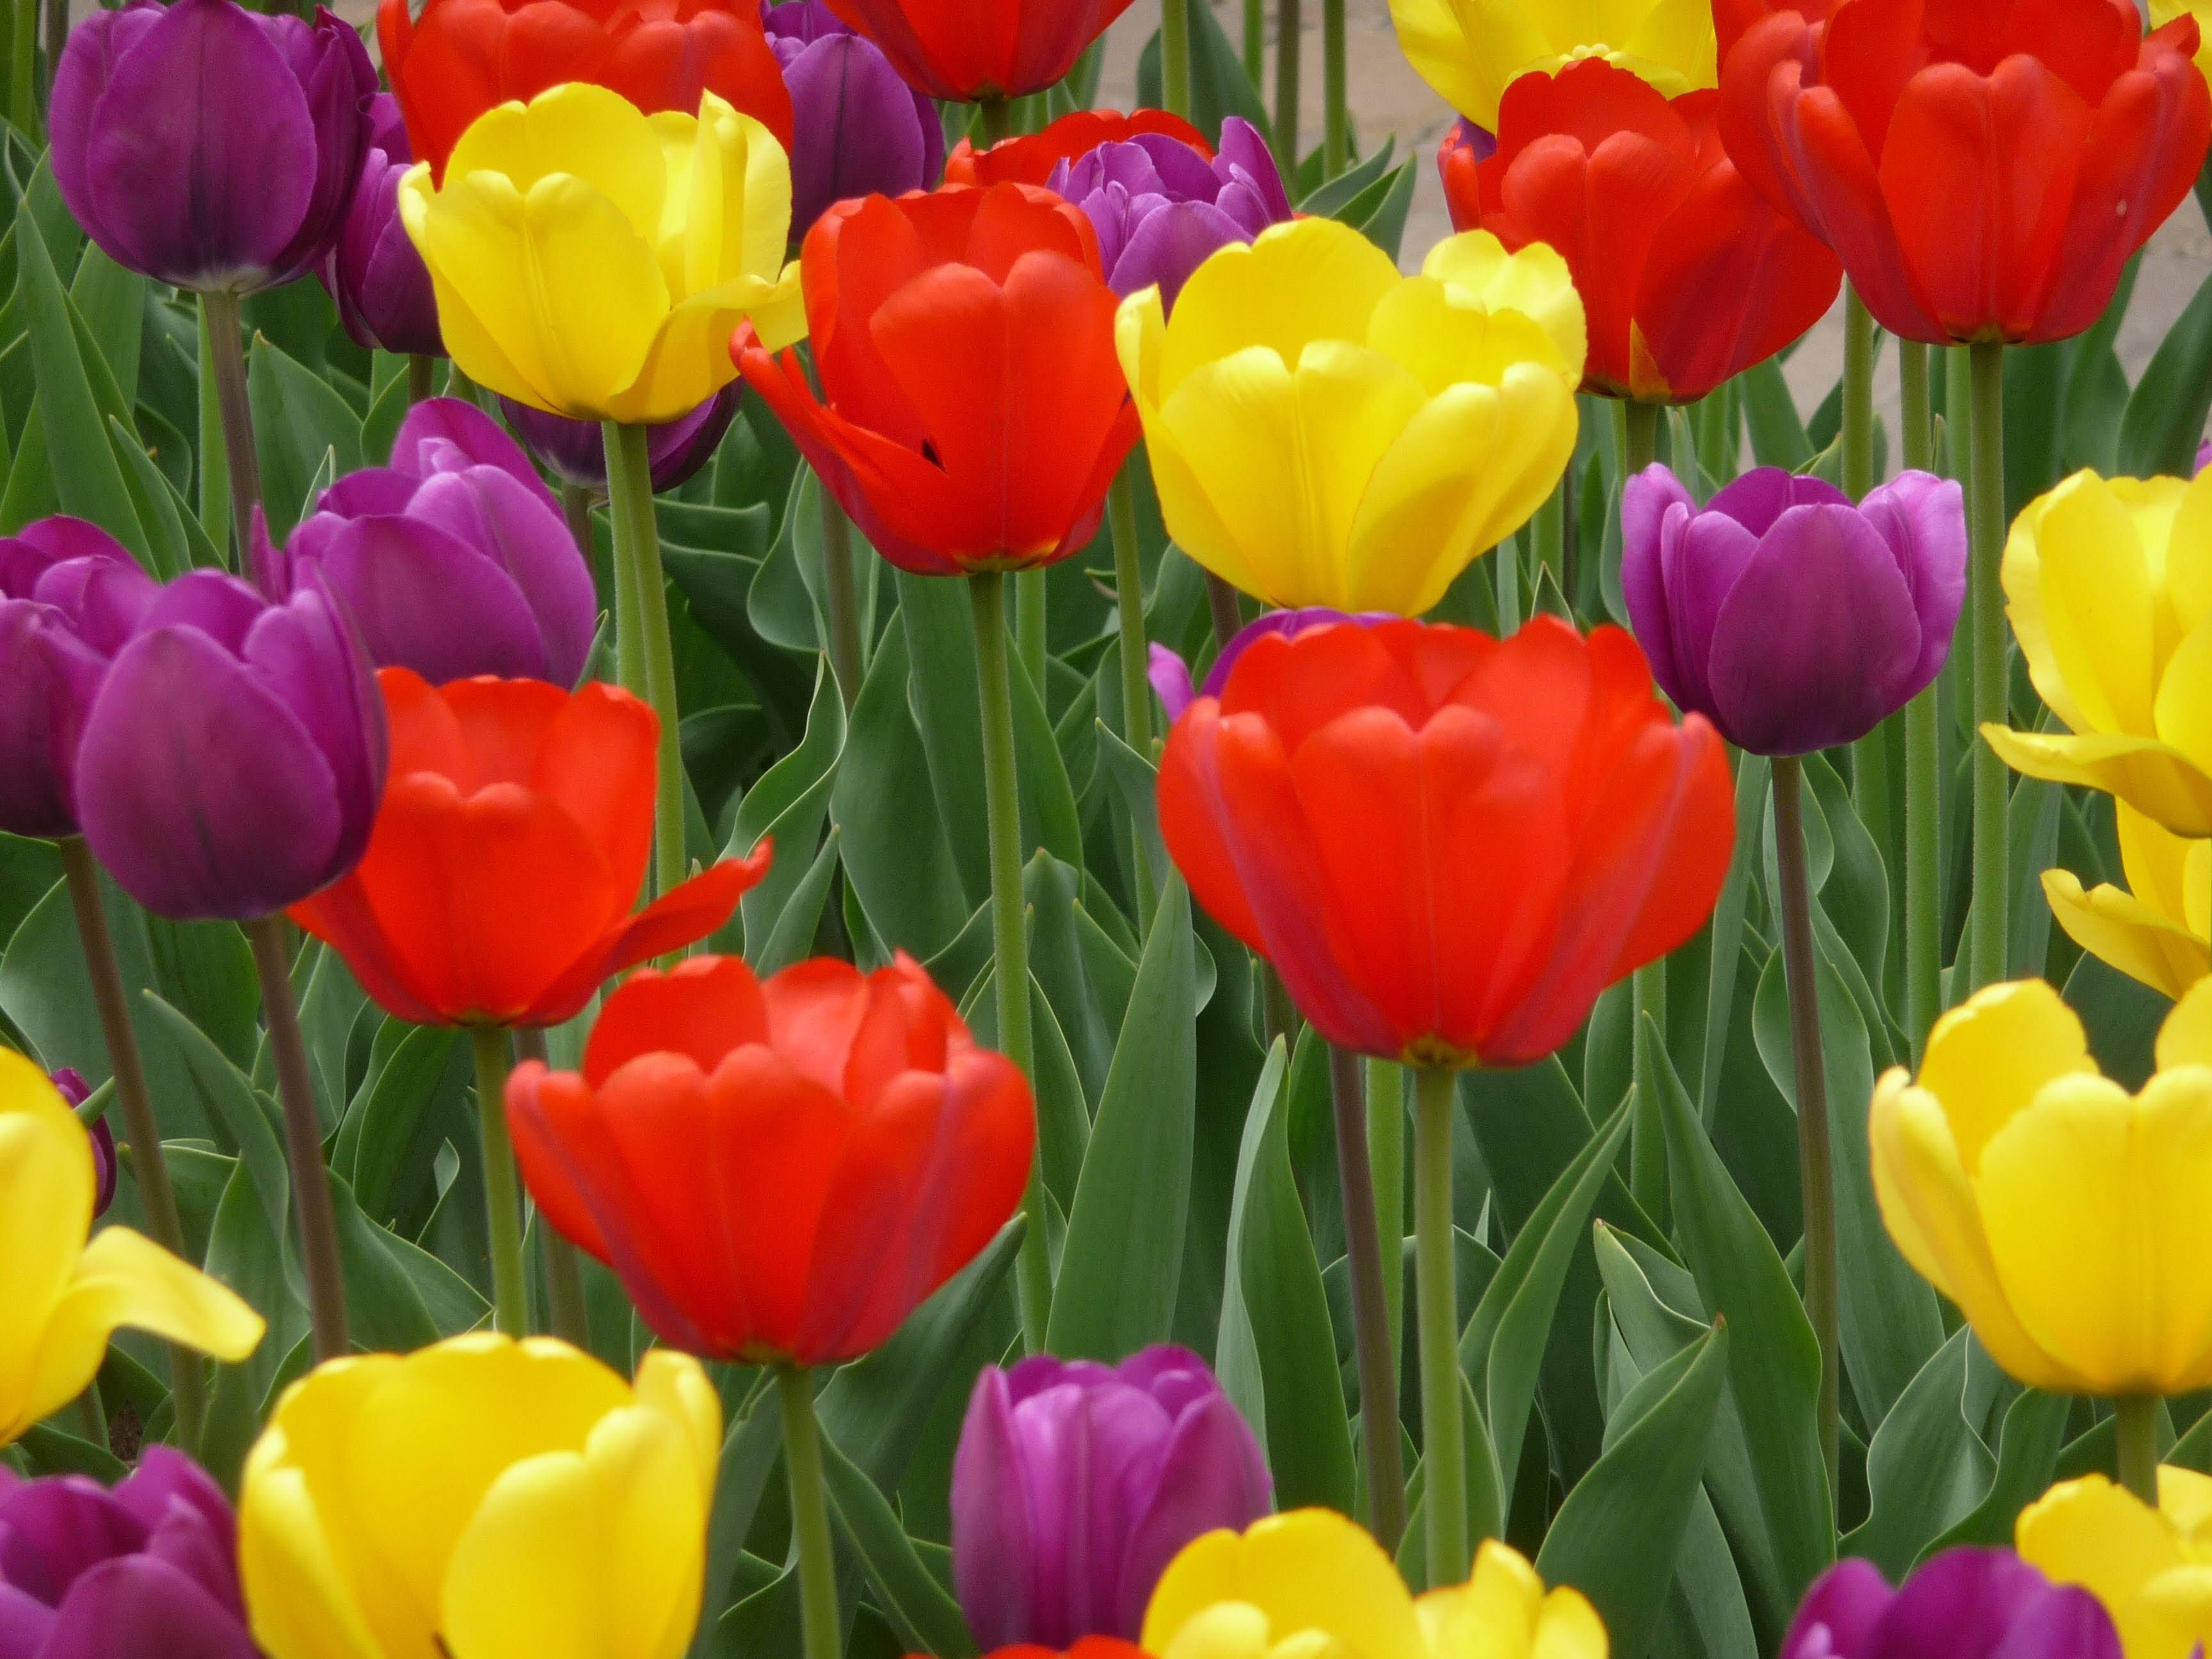
Just when we think we won’t make it through one more day of winter, the spring bulbs begin to bloom, offering a much-needed, colorful respite from the cold, gray days of March. If you’d like to feast your winter-weary eyes on a burst of bright yellow, scarlet, purple and pink next spring, now’s the time to get spring-blooming bulbs in the ground.
Here are some tips to get you started:
- Choose quality bulbs. Look for bulbs that are plump and firm; toss those that are mushy or moldy.
- Choose a spot that will get full sun—most bulb flowers do best with at least six hours of direct sun.
- Plant your bulbs at the right time. Spring flowering bulbs should be planted between late September and early November, when soil temperatures fall below 60 degrees F. This will allow their root systems time to develop before the ground freezes.
- Plant with the pointy end of the bulb facing up—this is the end where the stem will emerge. The root side is typically flatter and should face down.
- Keep track of where you bury your bulbs so you don’t accidently dig them up later. Draw a quick sketch of the area or insert labels in the ground where you planted your bulbs.
- Plant your bulbs at the proper depth. The rule of thumb is to dig the hole two to three times deeper than the length of your bulb. So if you have a two-inch tulip bulb, dig a hole that’s 4 to 6 inches deep. Some gardening tools, like the hori hori knife, have ruler markings on the blade, which makes estimating the depth of your hole a snap.
- Water well after planting. If doesn’t rain, continue to water the planted bulbs once a week until the ground freezes.
- Add 2-3 inches of mulch over your planted bulbs for added protection during the winter.
- Protect your hard work from squirrels and other critters that love to dig up and munch on freshly planted bulbs by weighing down a piece of mesh or chicken wire over the soil where your bulbs are planted. You can remove the mesh/chicken wire in the spring once the bulbs begin to sprout.
- Plant your bulbs in groups, rather than straight rows, for a bigger visual impact.


